Dream Kitchen for Max & Jordy
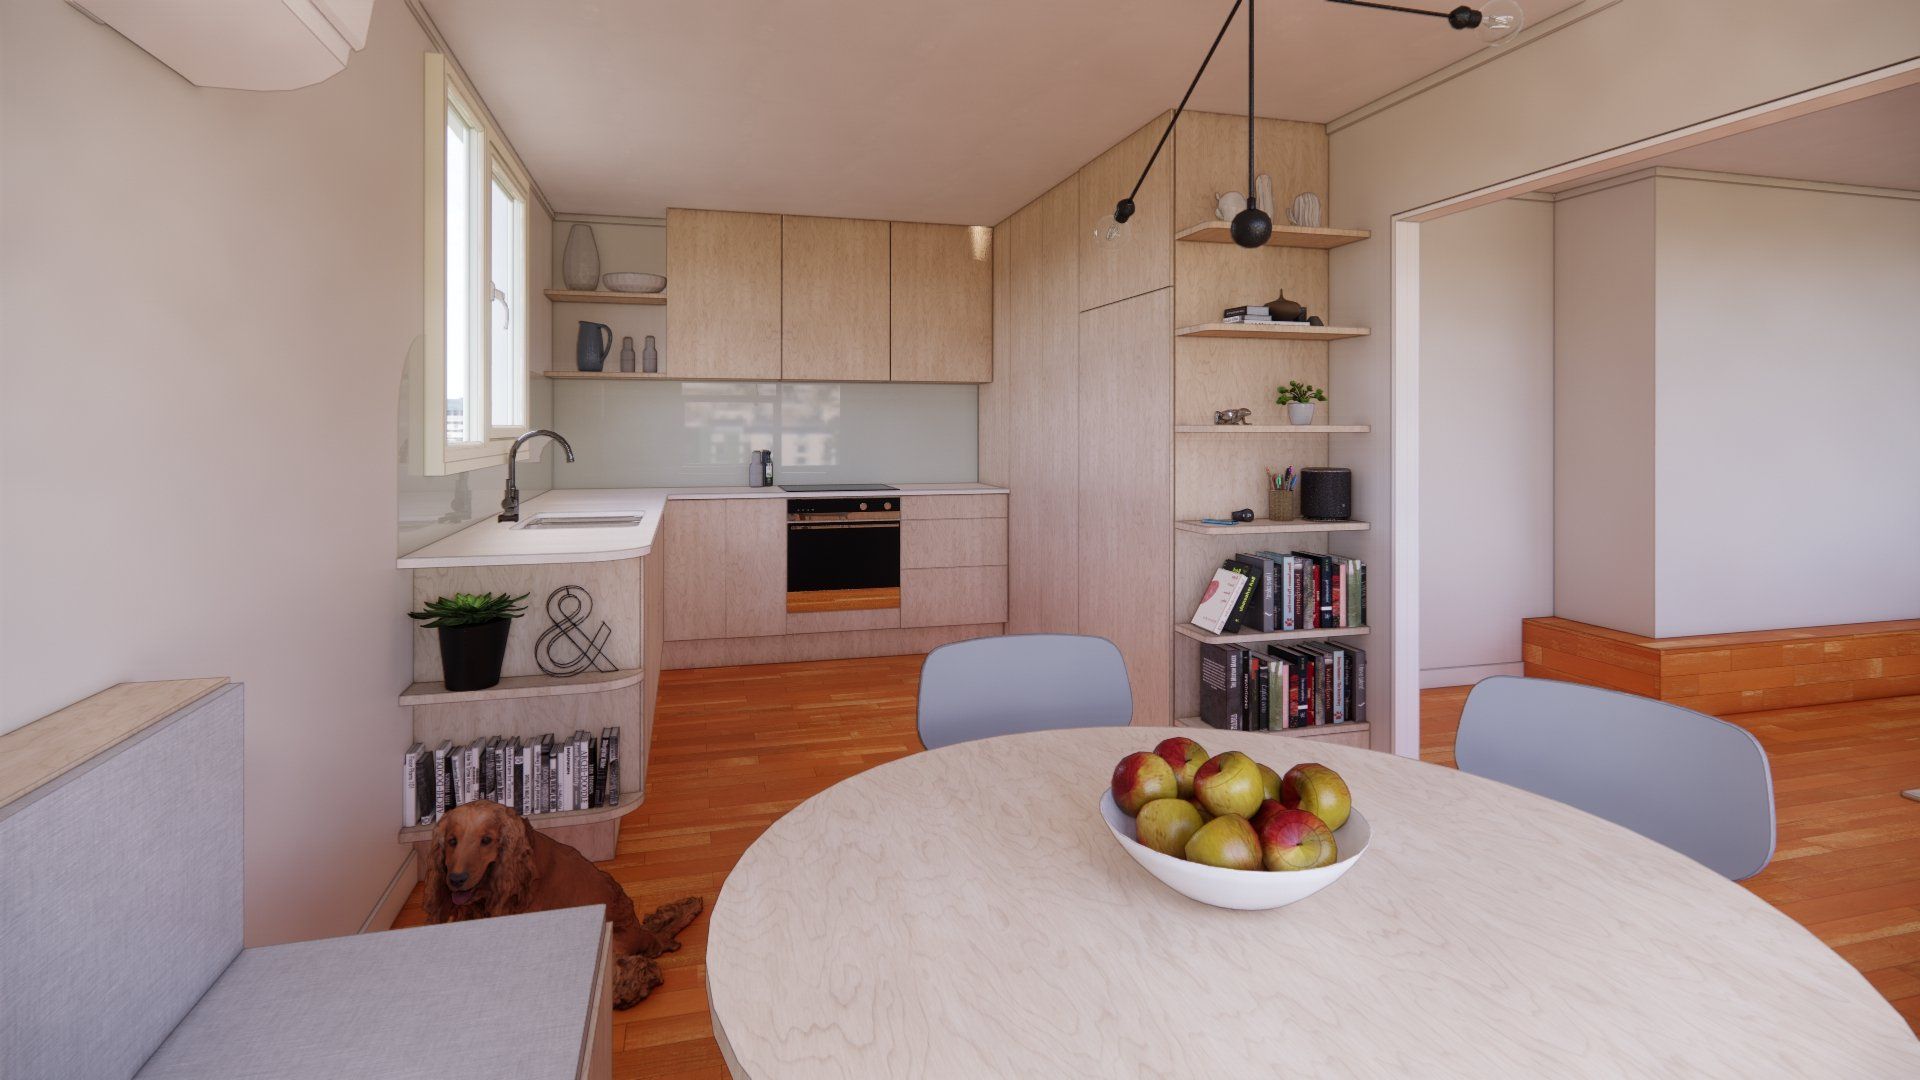
For first time homeowners Max and Jordan it's been a plunge into renovations throughout their home. The latest of which has been 3 years in the making - finally time to overhaul the tired and well used kitchen. Both Max and Jordan are keen vegan cooks so need a kitchen up to task for all their culinary creations. They also want this space to integrate with the dining area often used for puzzles, board games and dinner parties. Lastly is plenty of room to store and display a trove of knick knacks, cookbooks and house plants.
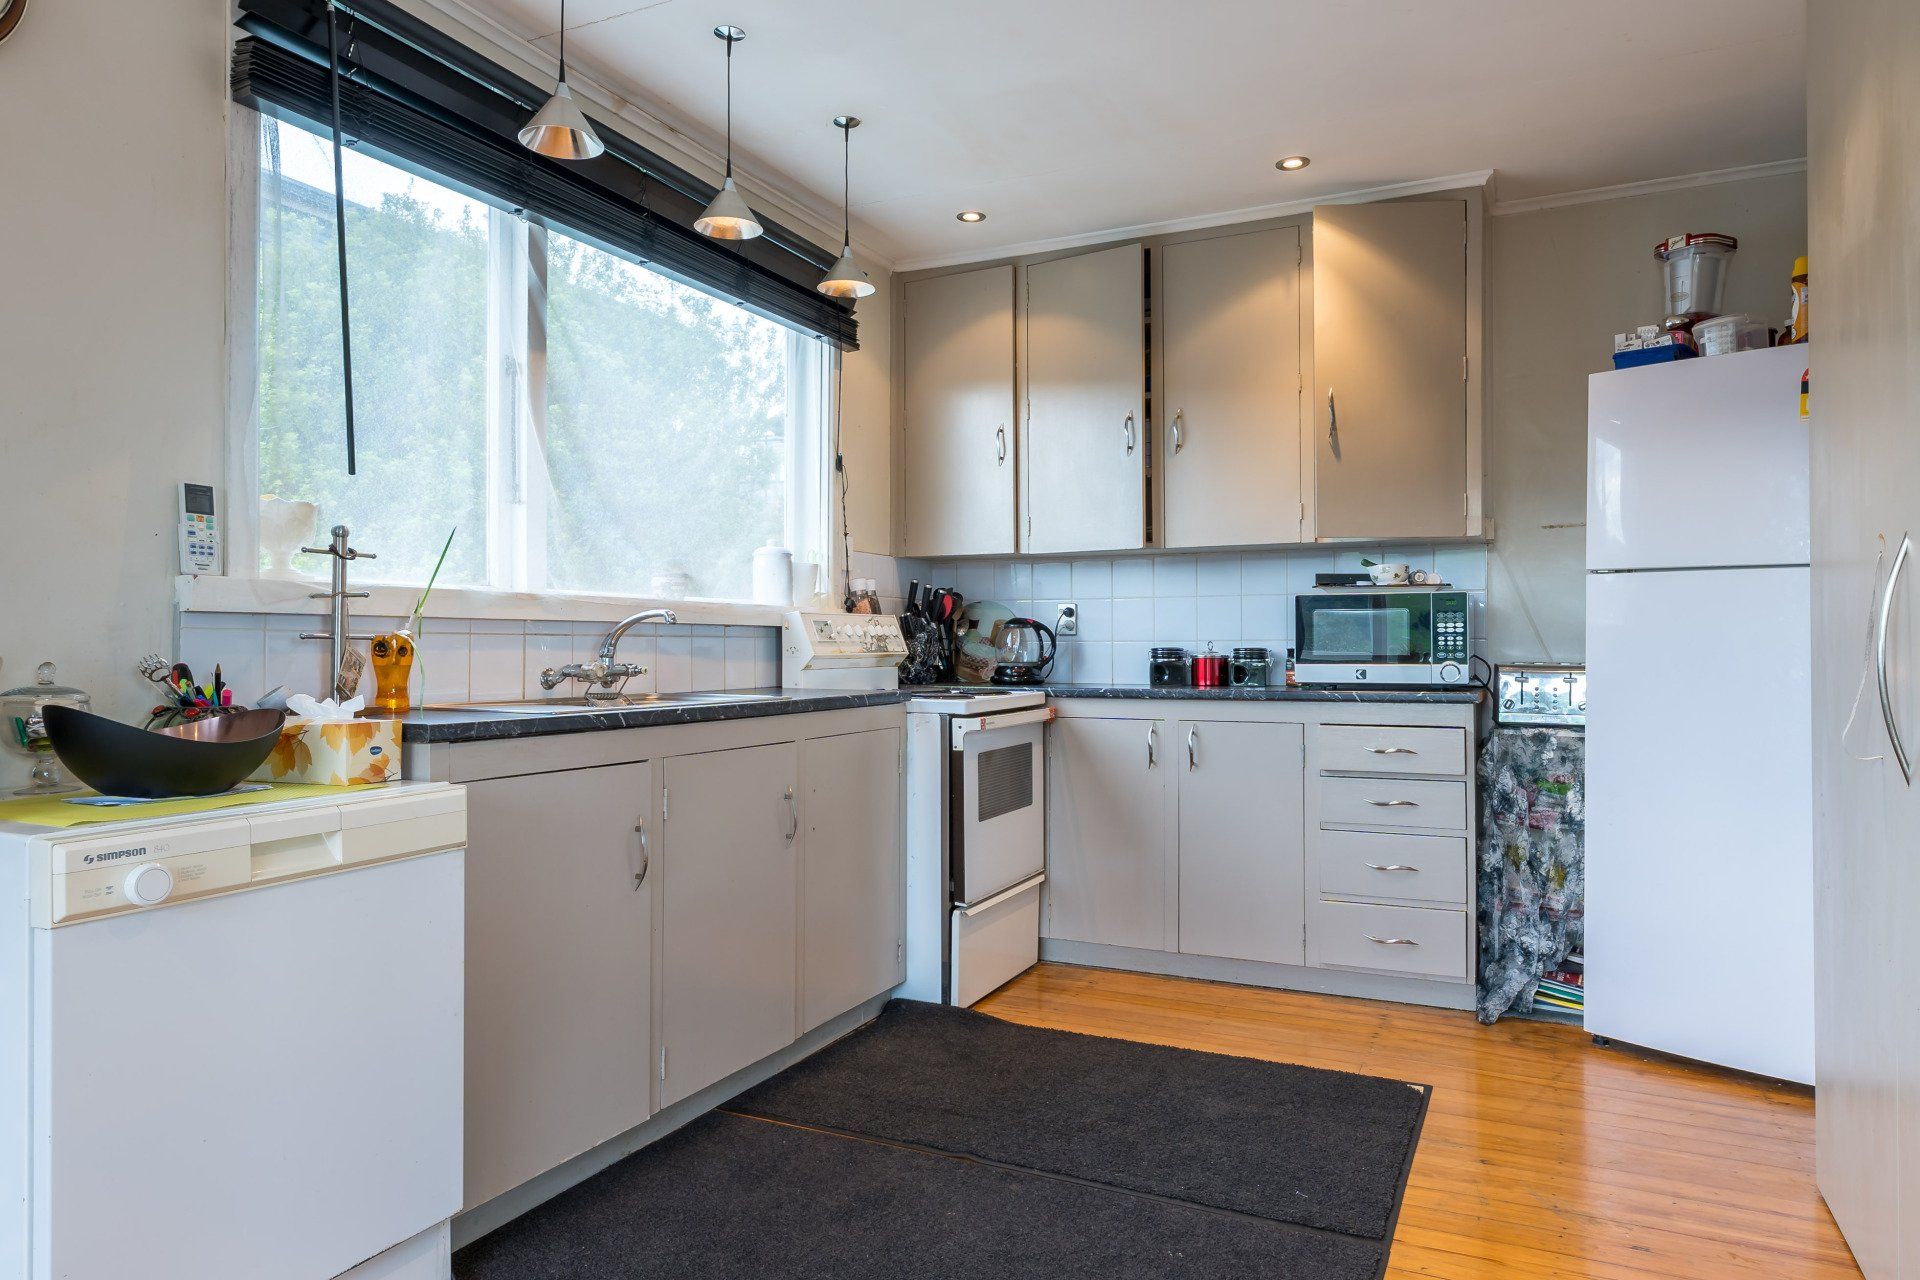

The Before - Ready for a change!
The overall footprint is staying as is, the windows are being replaced with double glazed units of the same size, the heat pump is to remain as is the hardwood flooring. Everything else is up for grabs.


The Inspiration
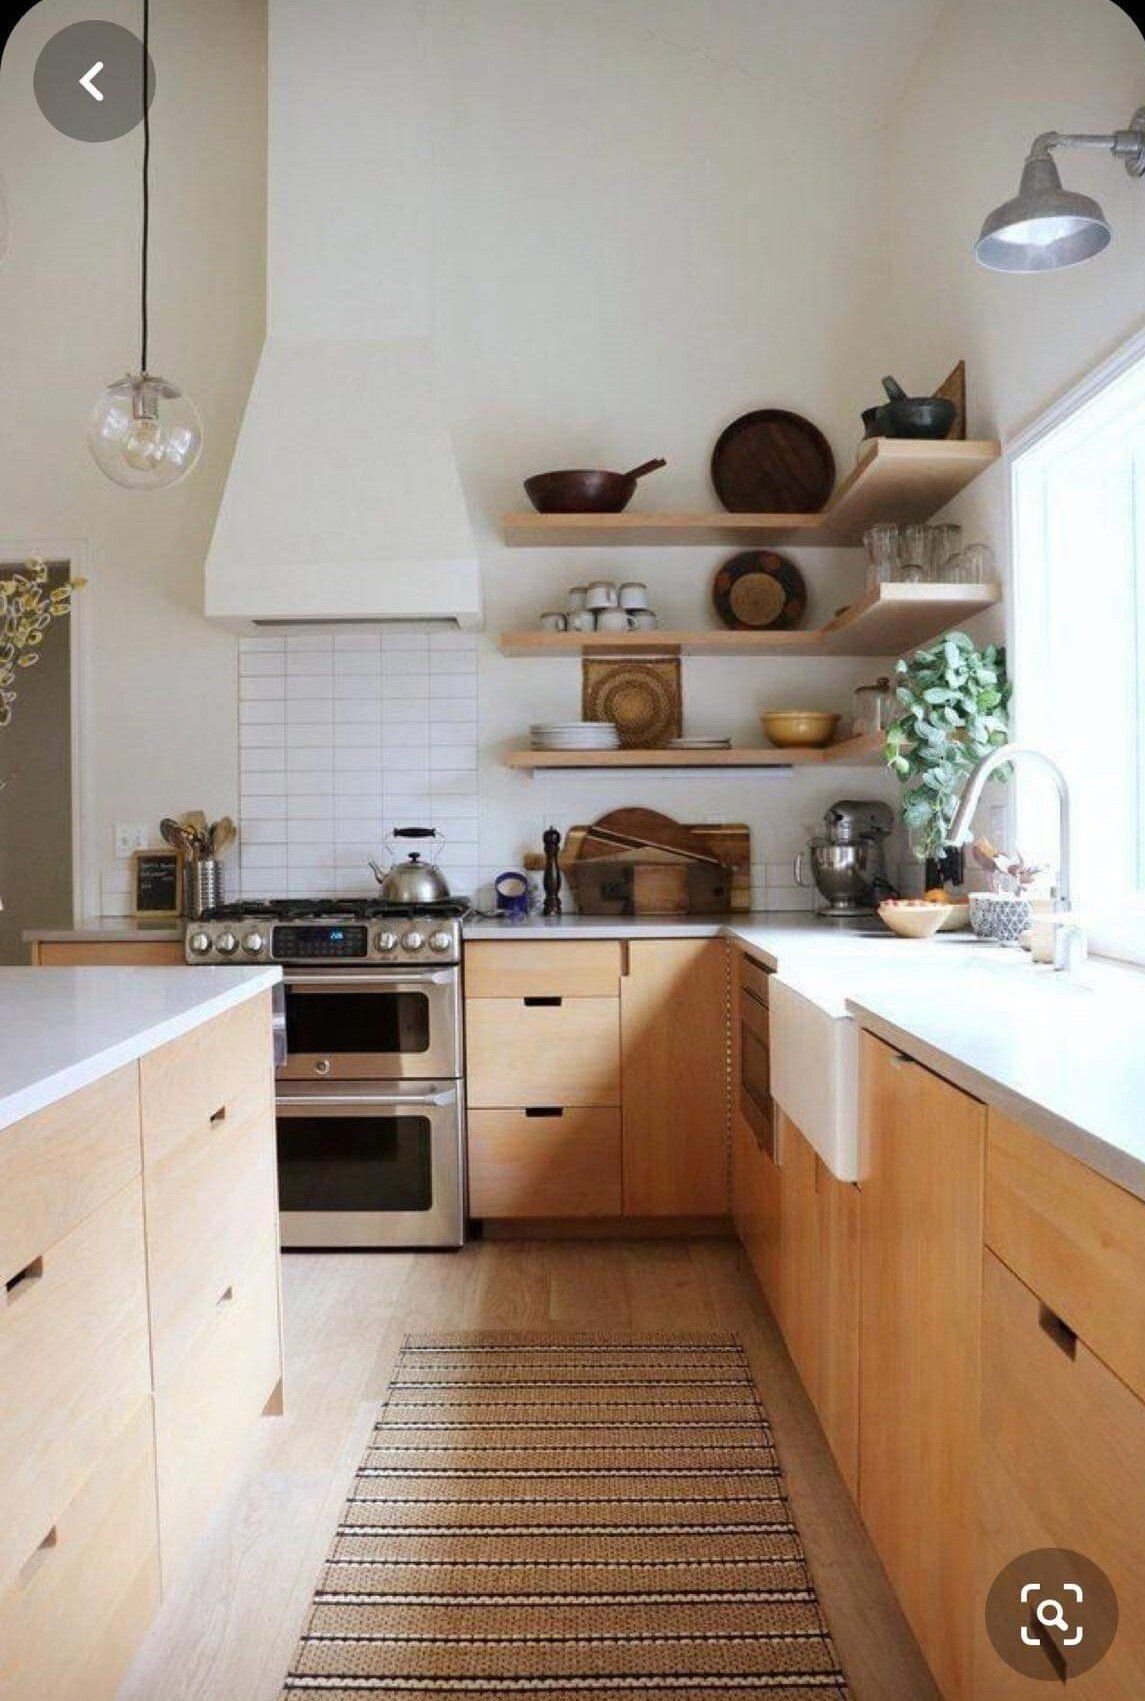
Websites like Pinterest and Houzz are great tools to explore a plethora of inspiration and see what sings out to you. Often it's hard to describe in words your style and what you are looking for, however link us your pinterest board and its clear as day!
For this kitchen we knew natural wood tones are a must! These images also largely feature some examples of display shelving. Something that isn't an area of focus in any of these designs are cabinetry handles - for Max and Jordan the sleek modern look of hidden handles was a must.
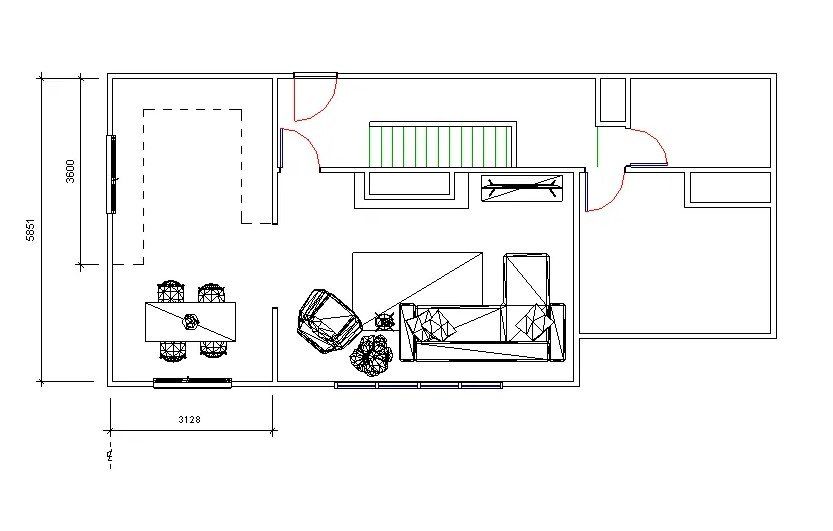

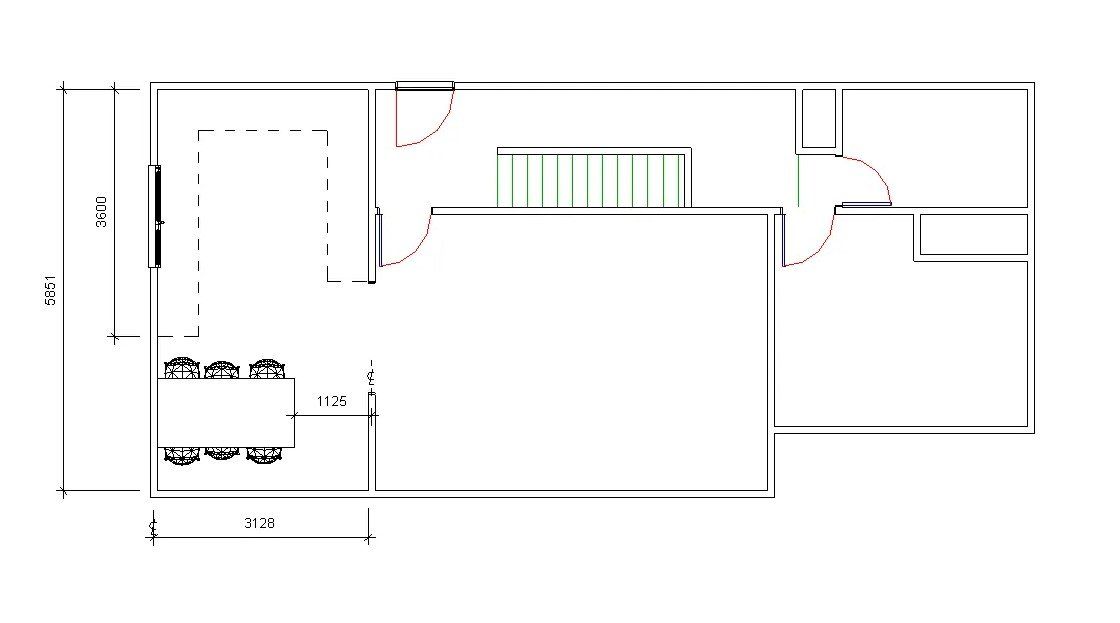
The Space
Because this design was completed remotely, we aren't able to perform the typical on site measure up, this meant relying on historic plans and photos of the space to draw up a floor plan that will later become our 3D Model. With today's technology we are able to trace and scale plans from when the home was originally built - even when the measurements are in feet and inches.
We use this to map out the space and start sketching out some broad ideas of where the spaces will sit and how they will work together. Because of the size and shape of this space a U shape kitchen was the only sensible option so this was locked in - we used this mapping to play with how the dining area would sit and relate to the kitchen.
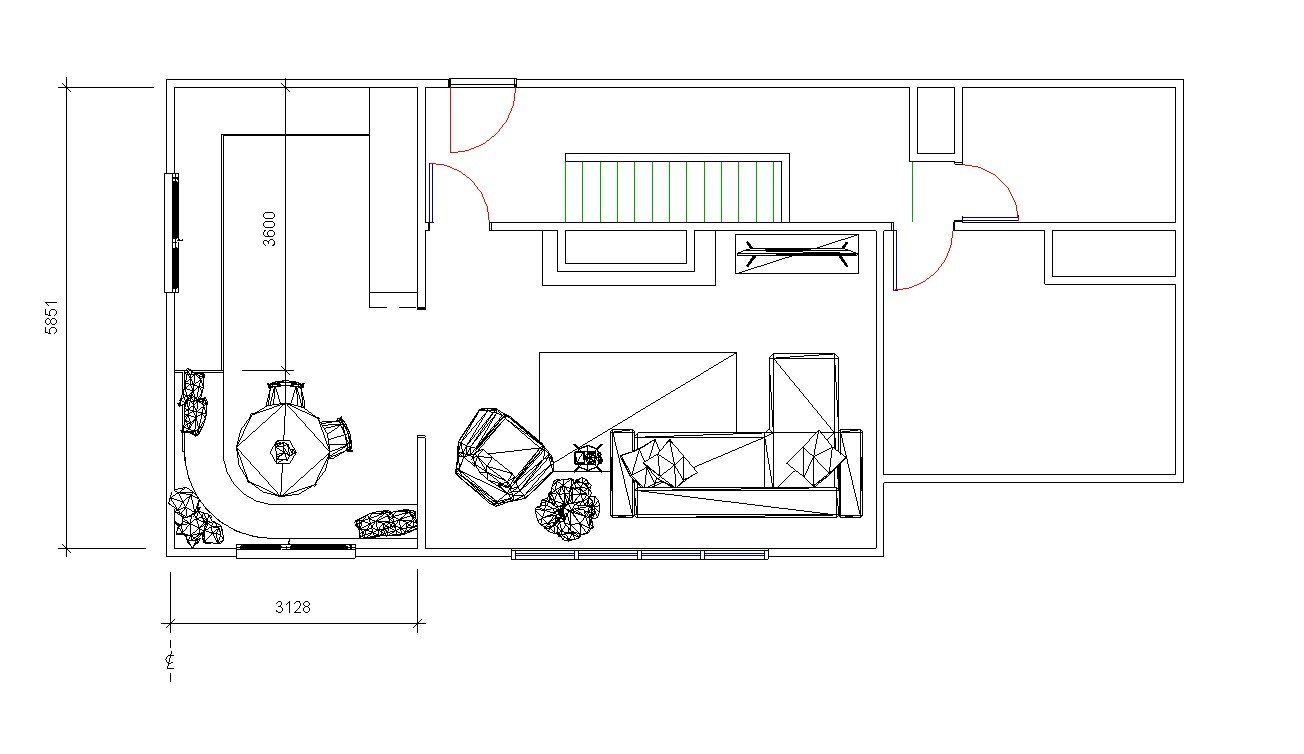

Building the Basic 3D Model
Once we have a design in mind it's time to jump into 3D to get an idea of how the design will feel in the space.
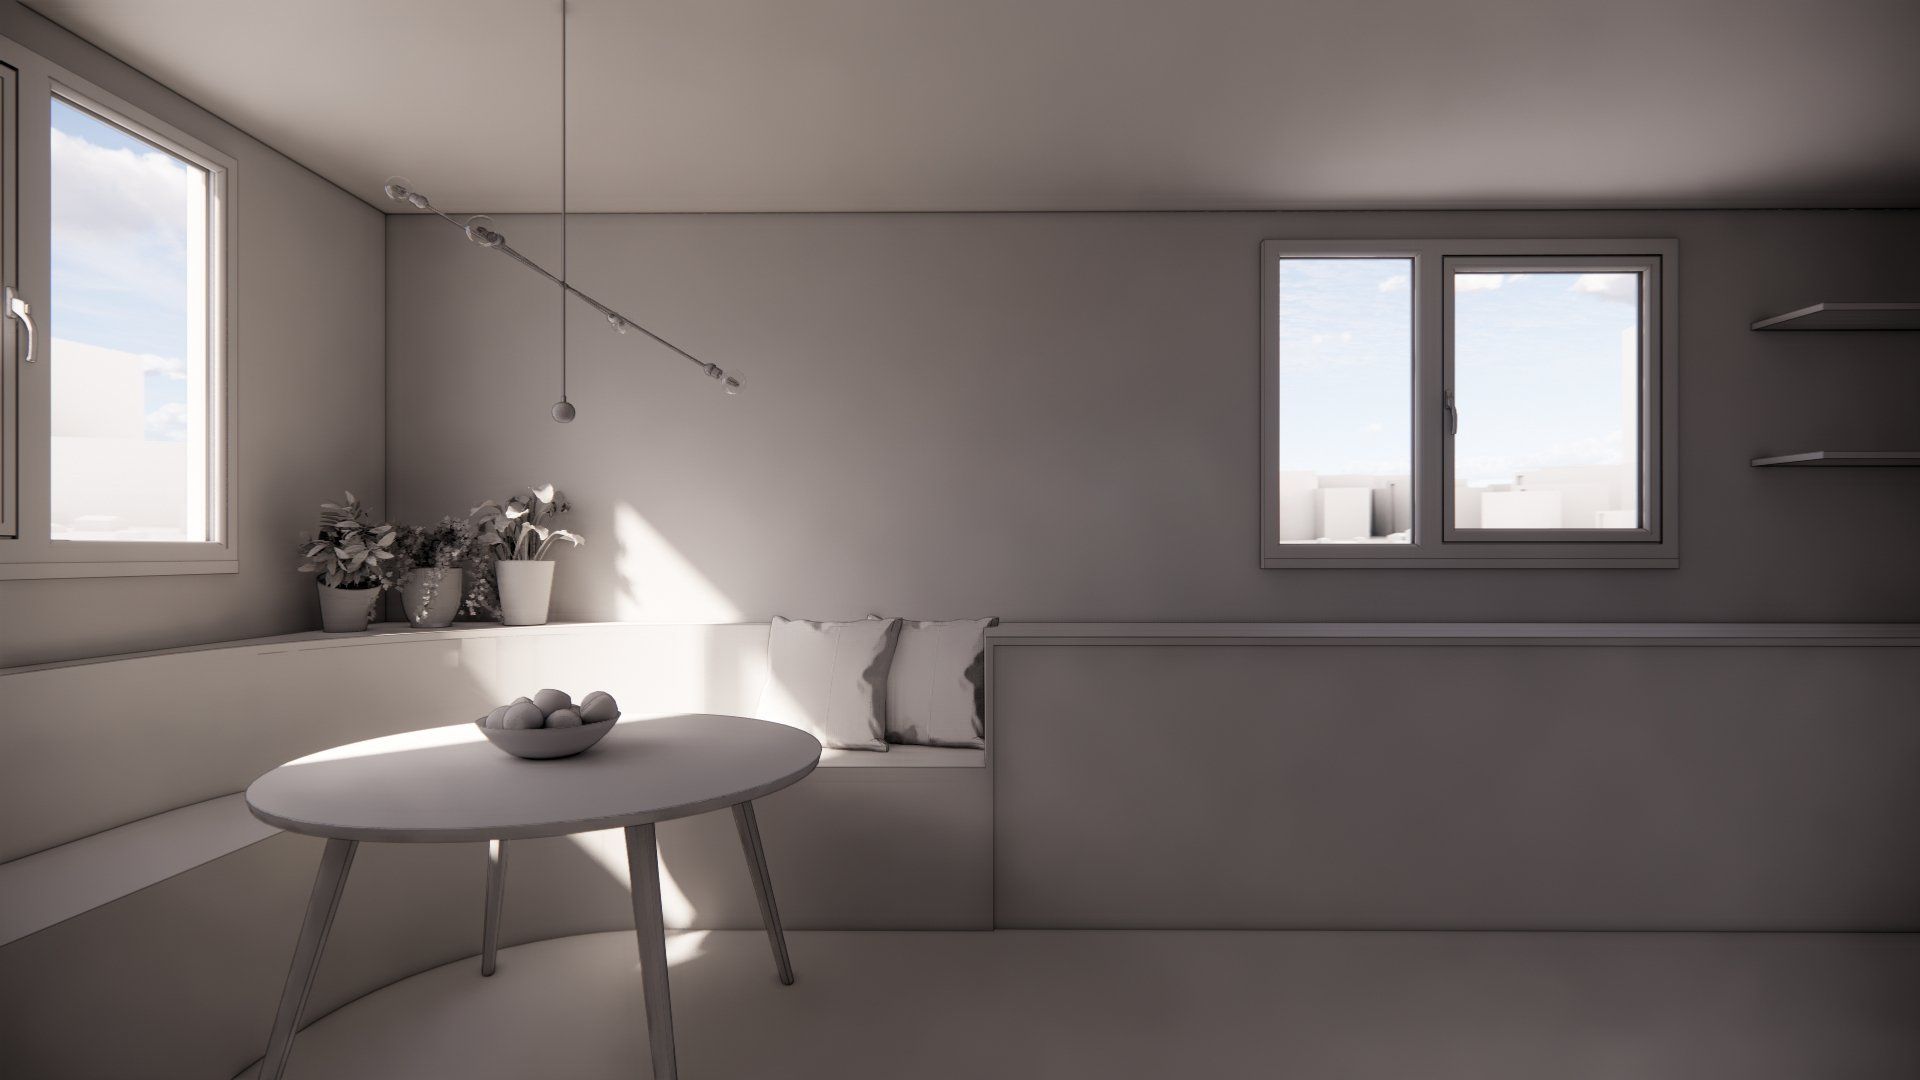
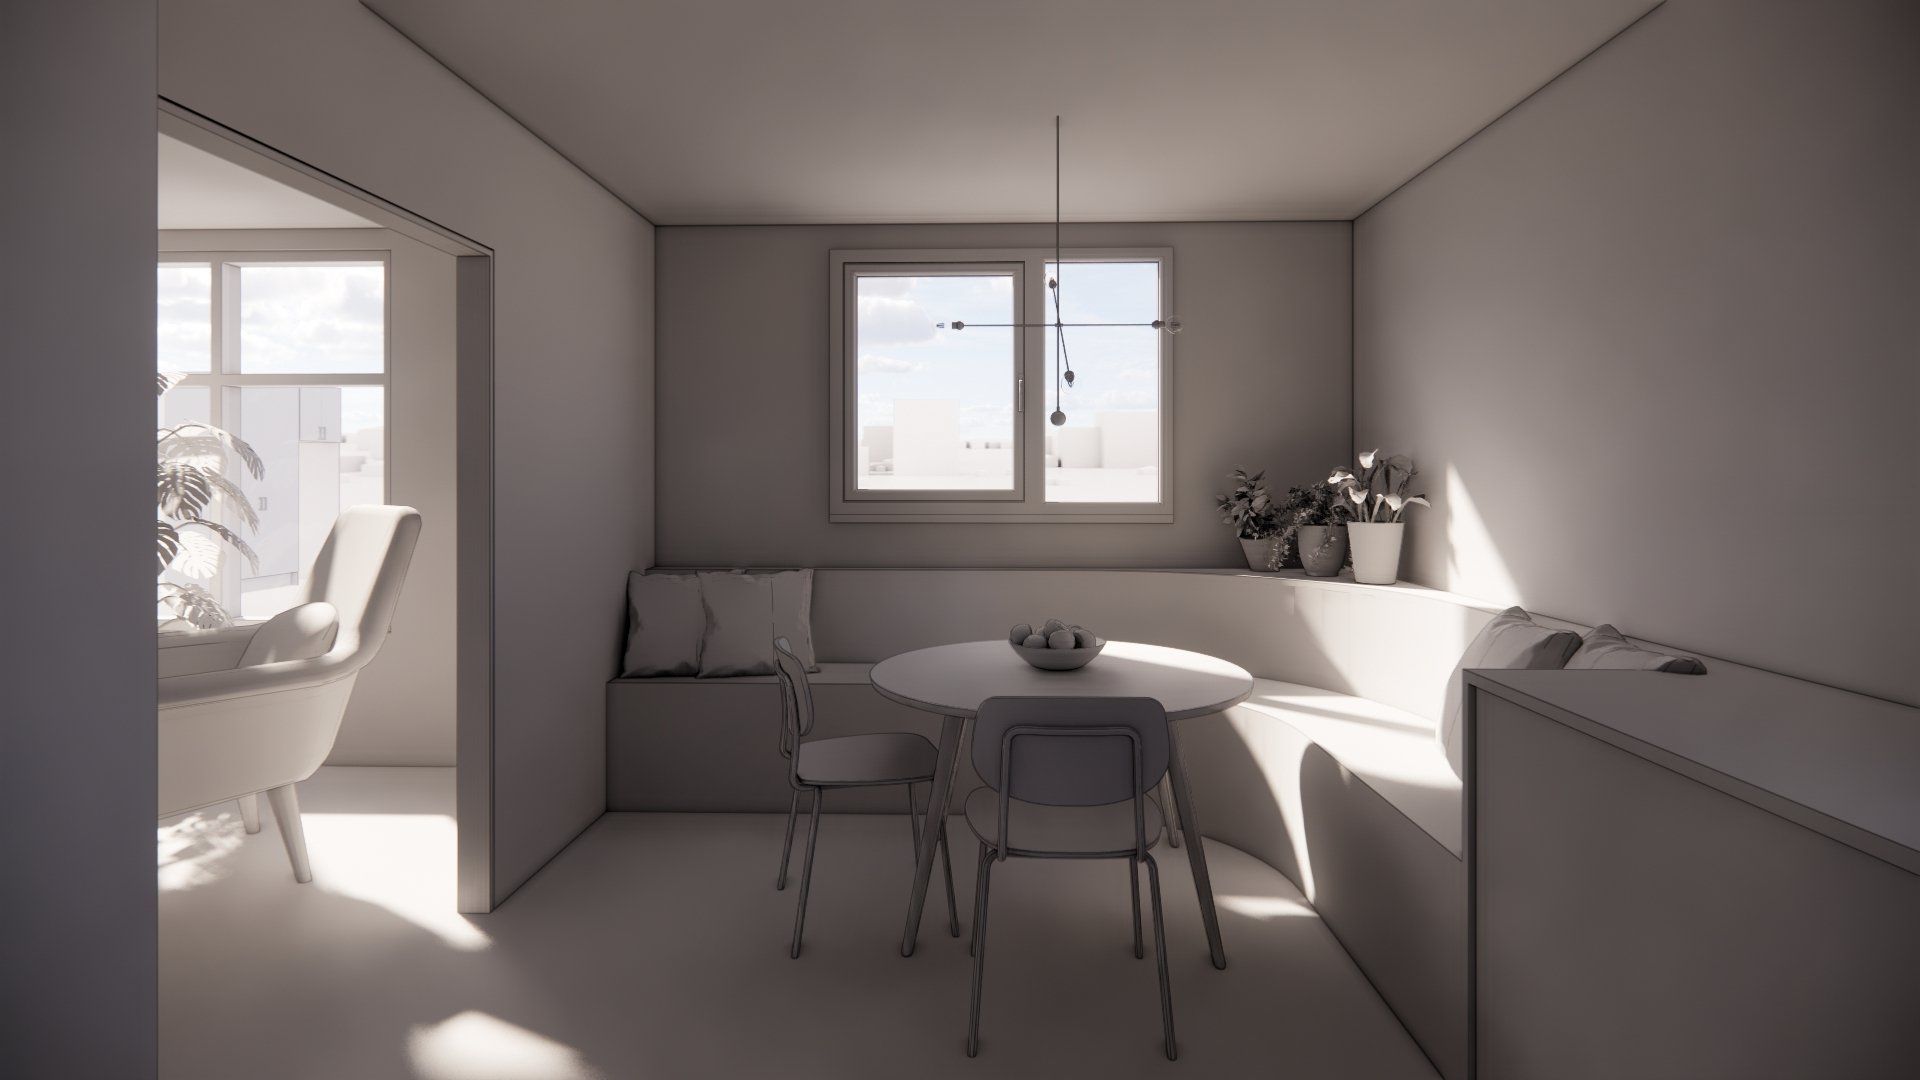
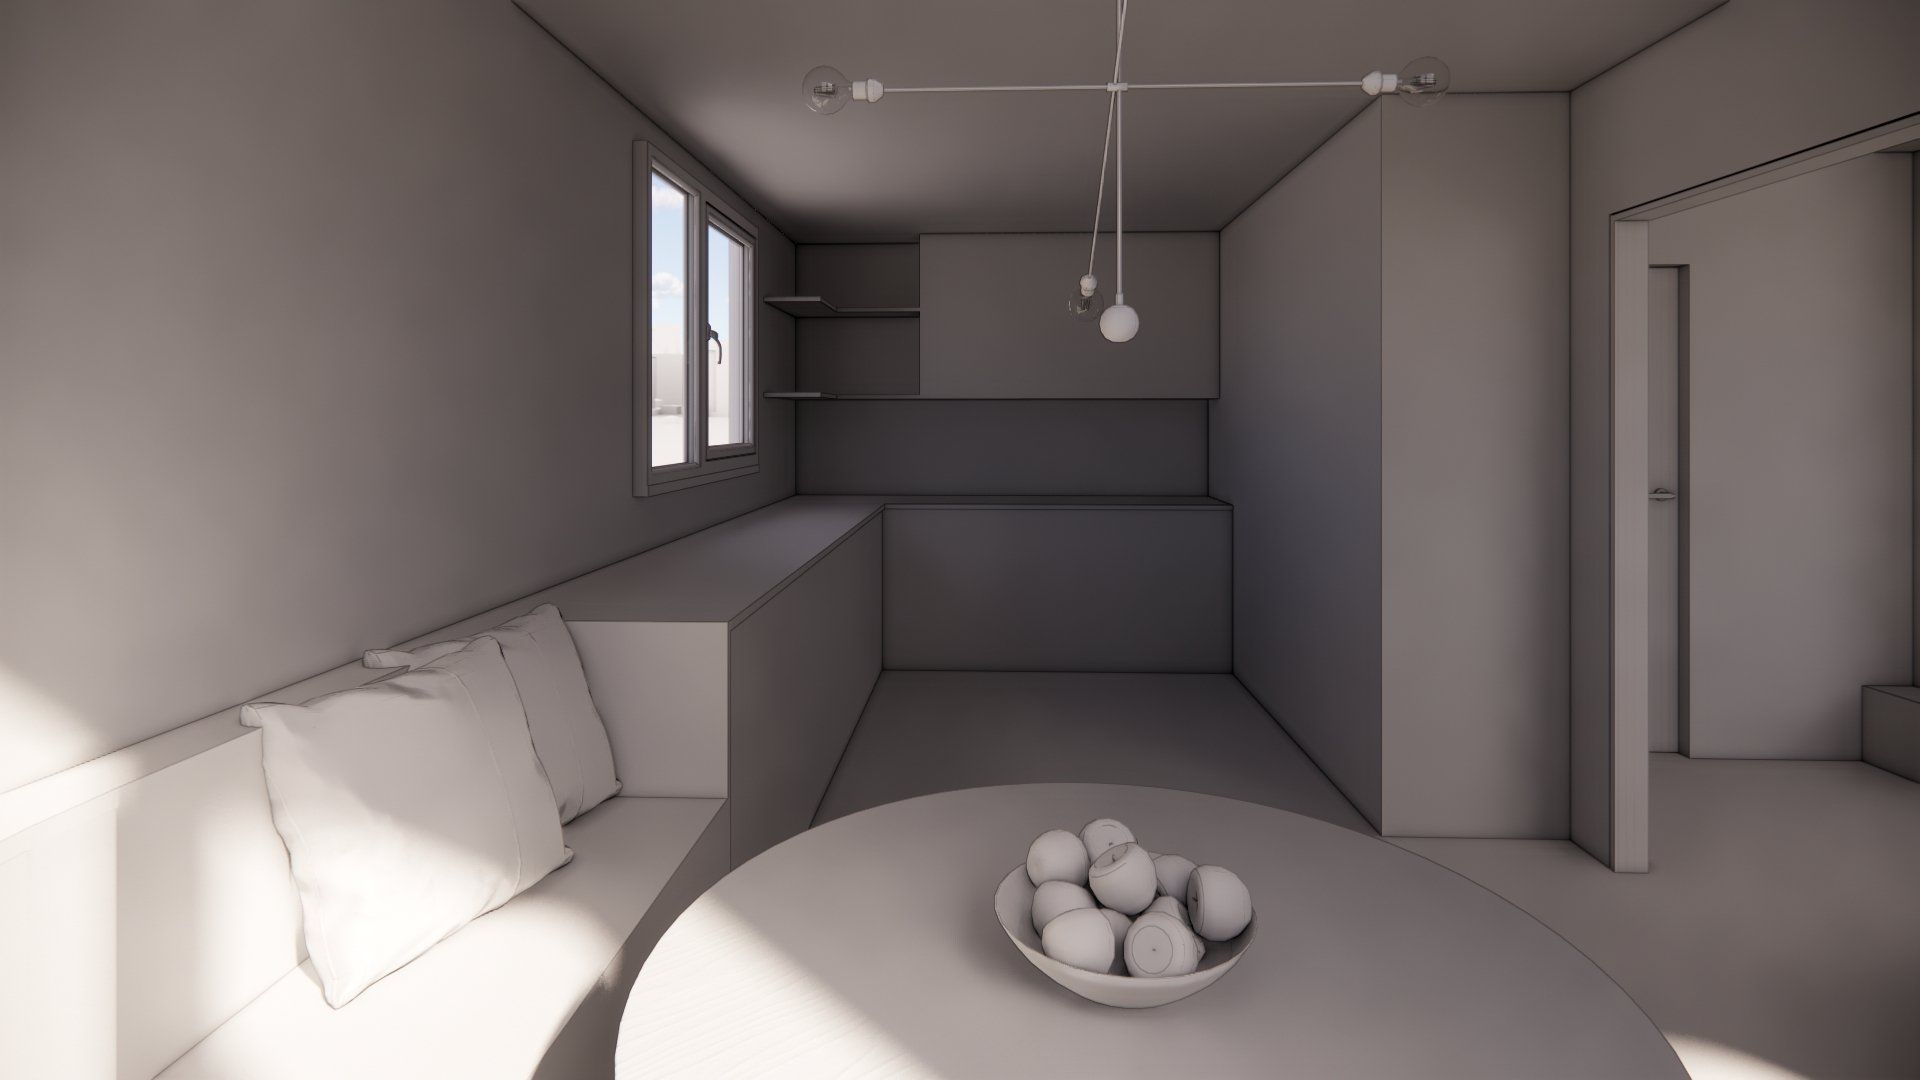
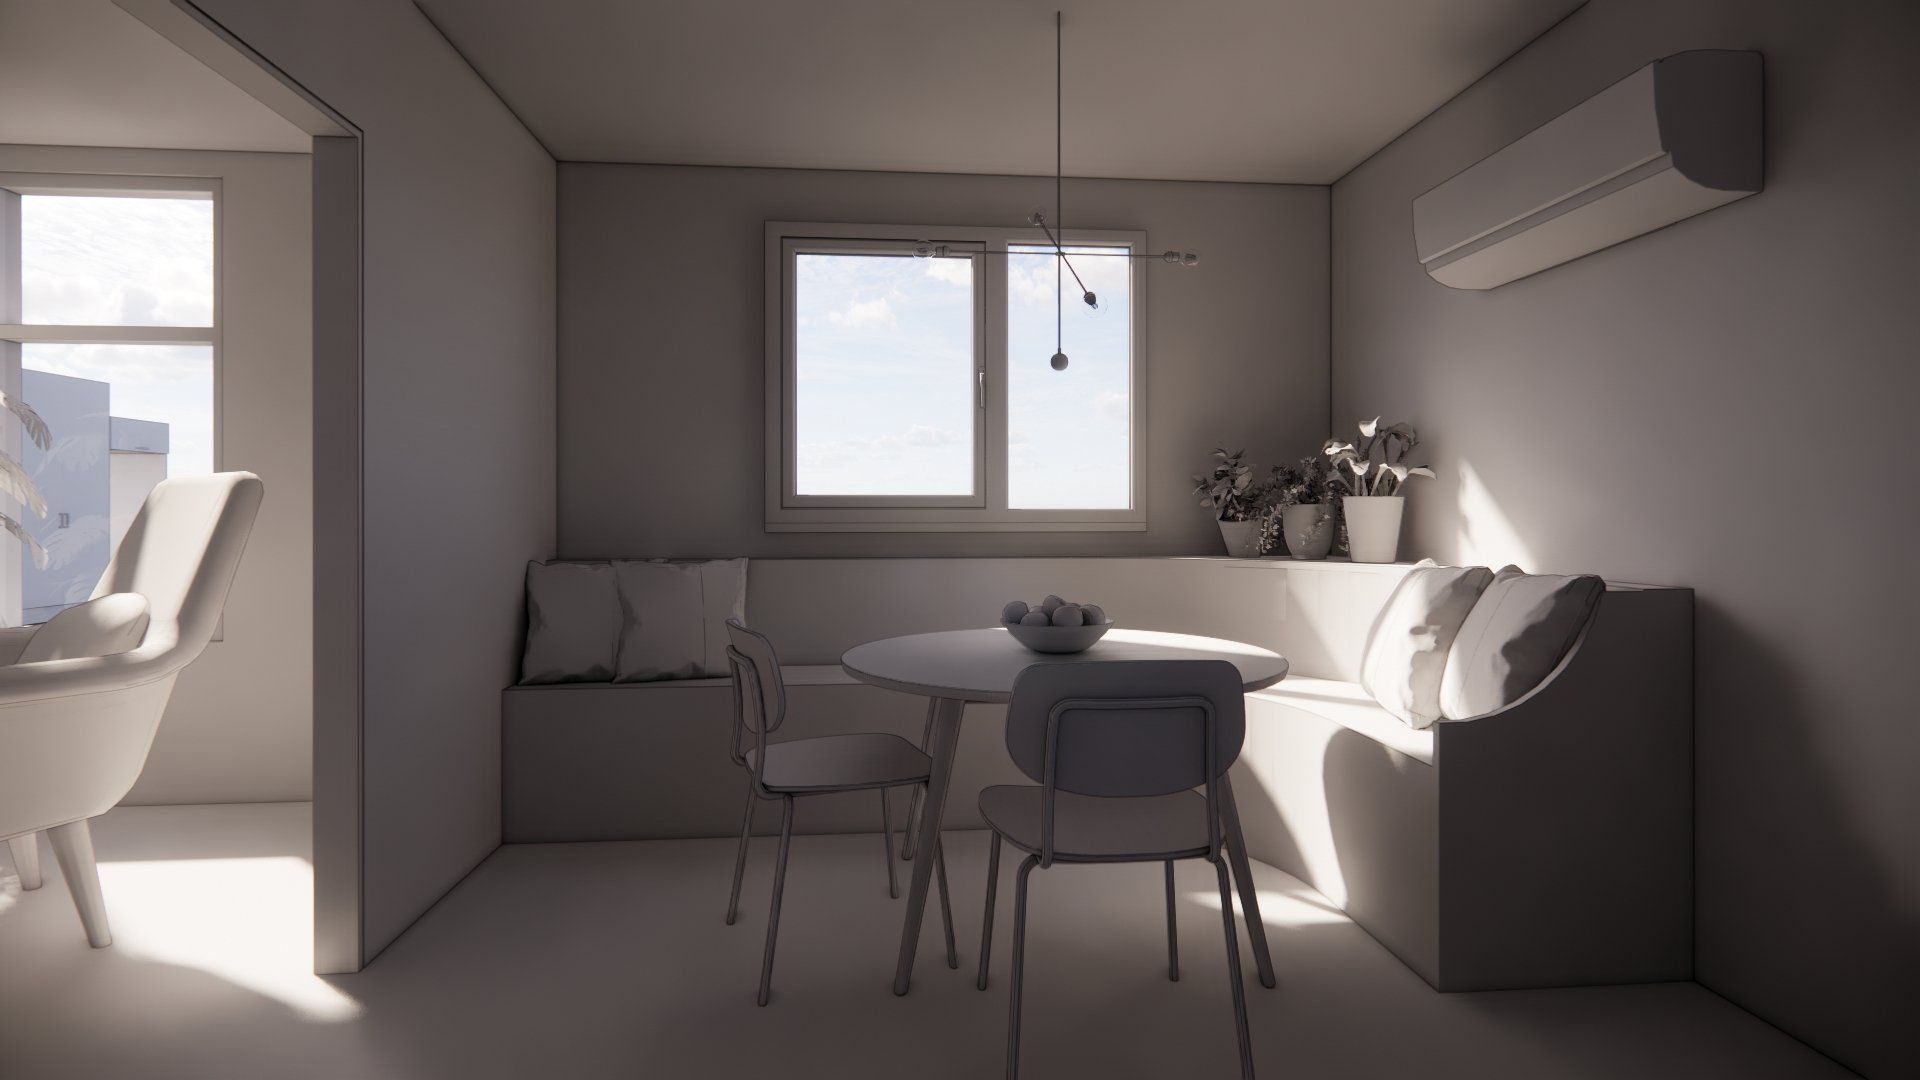
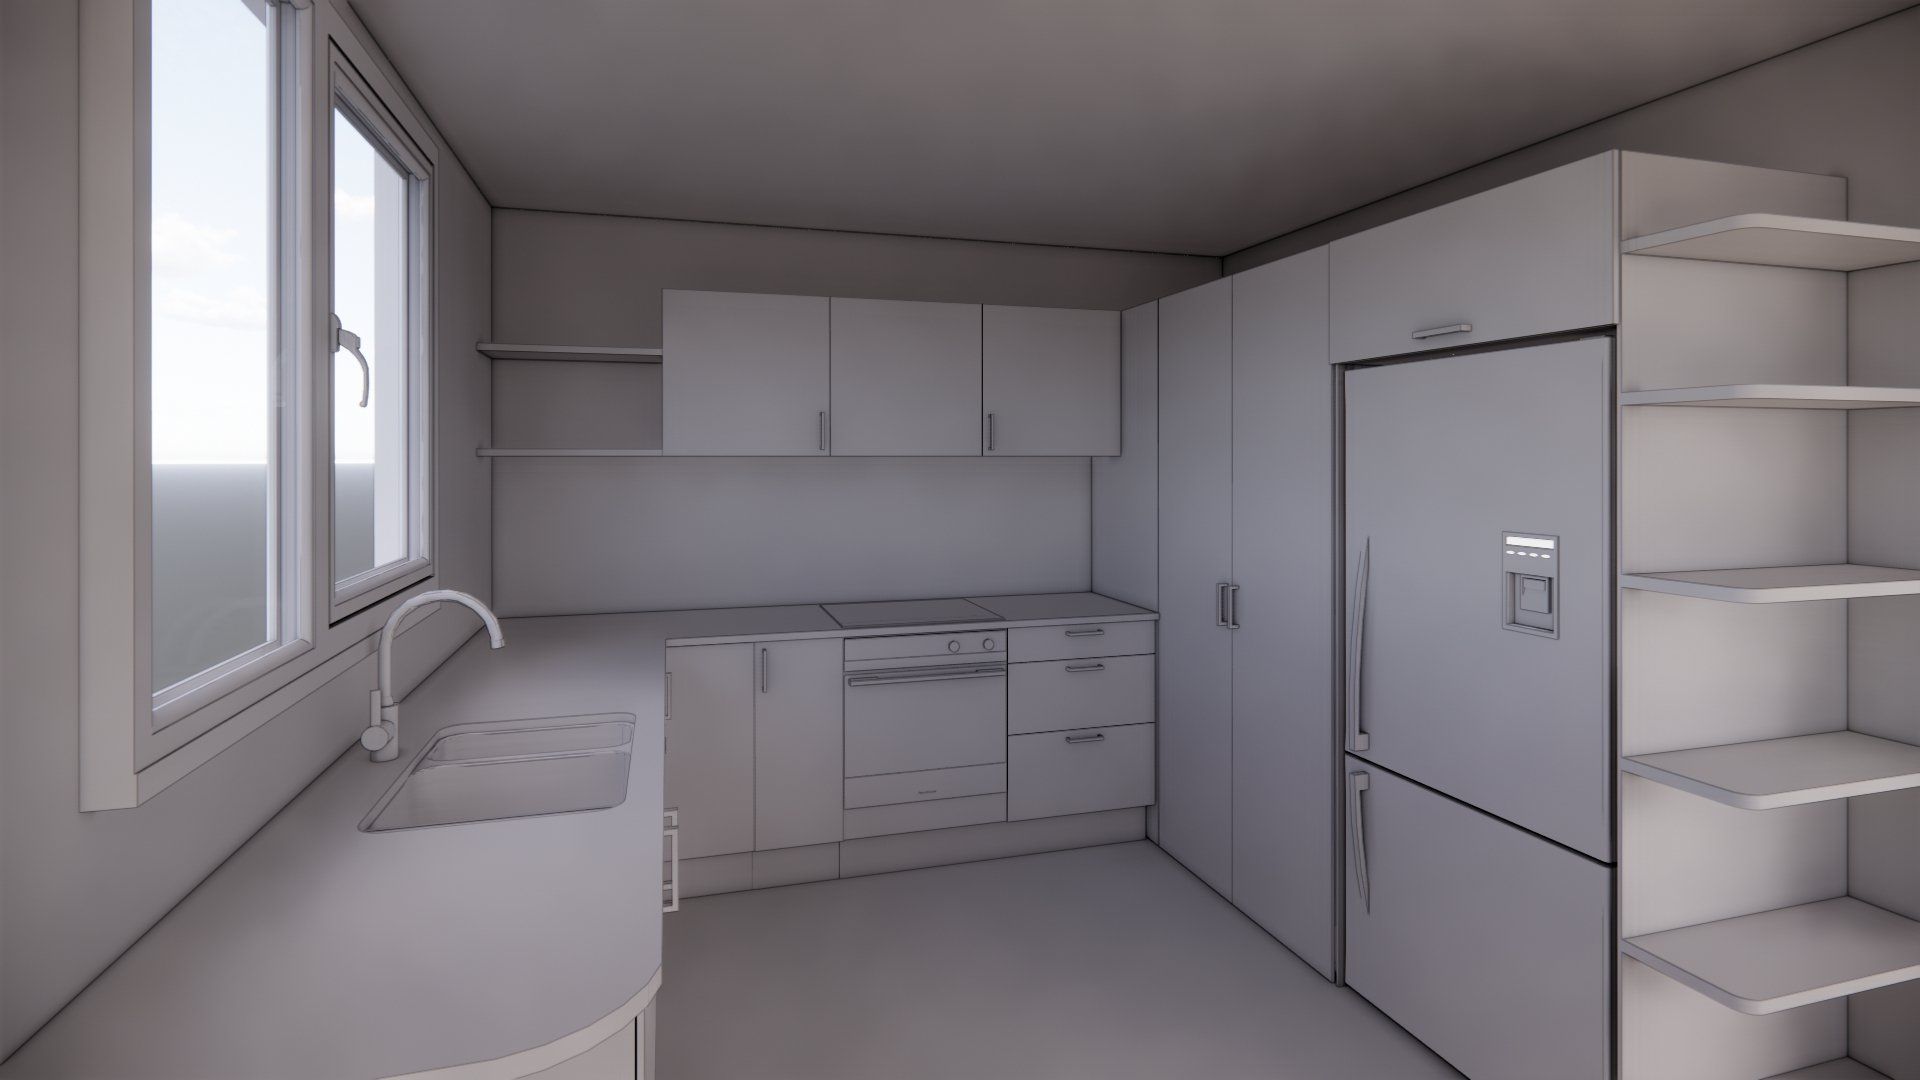
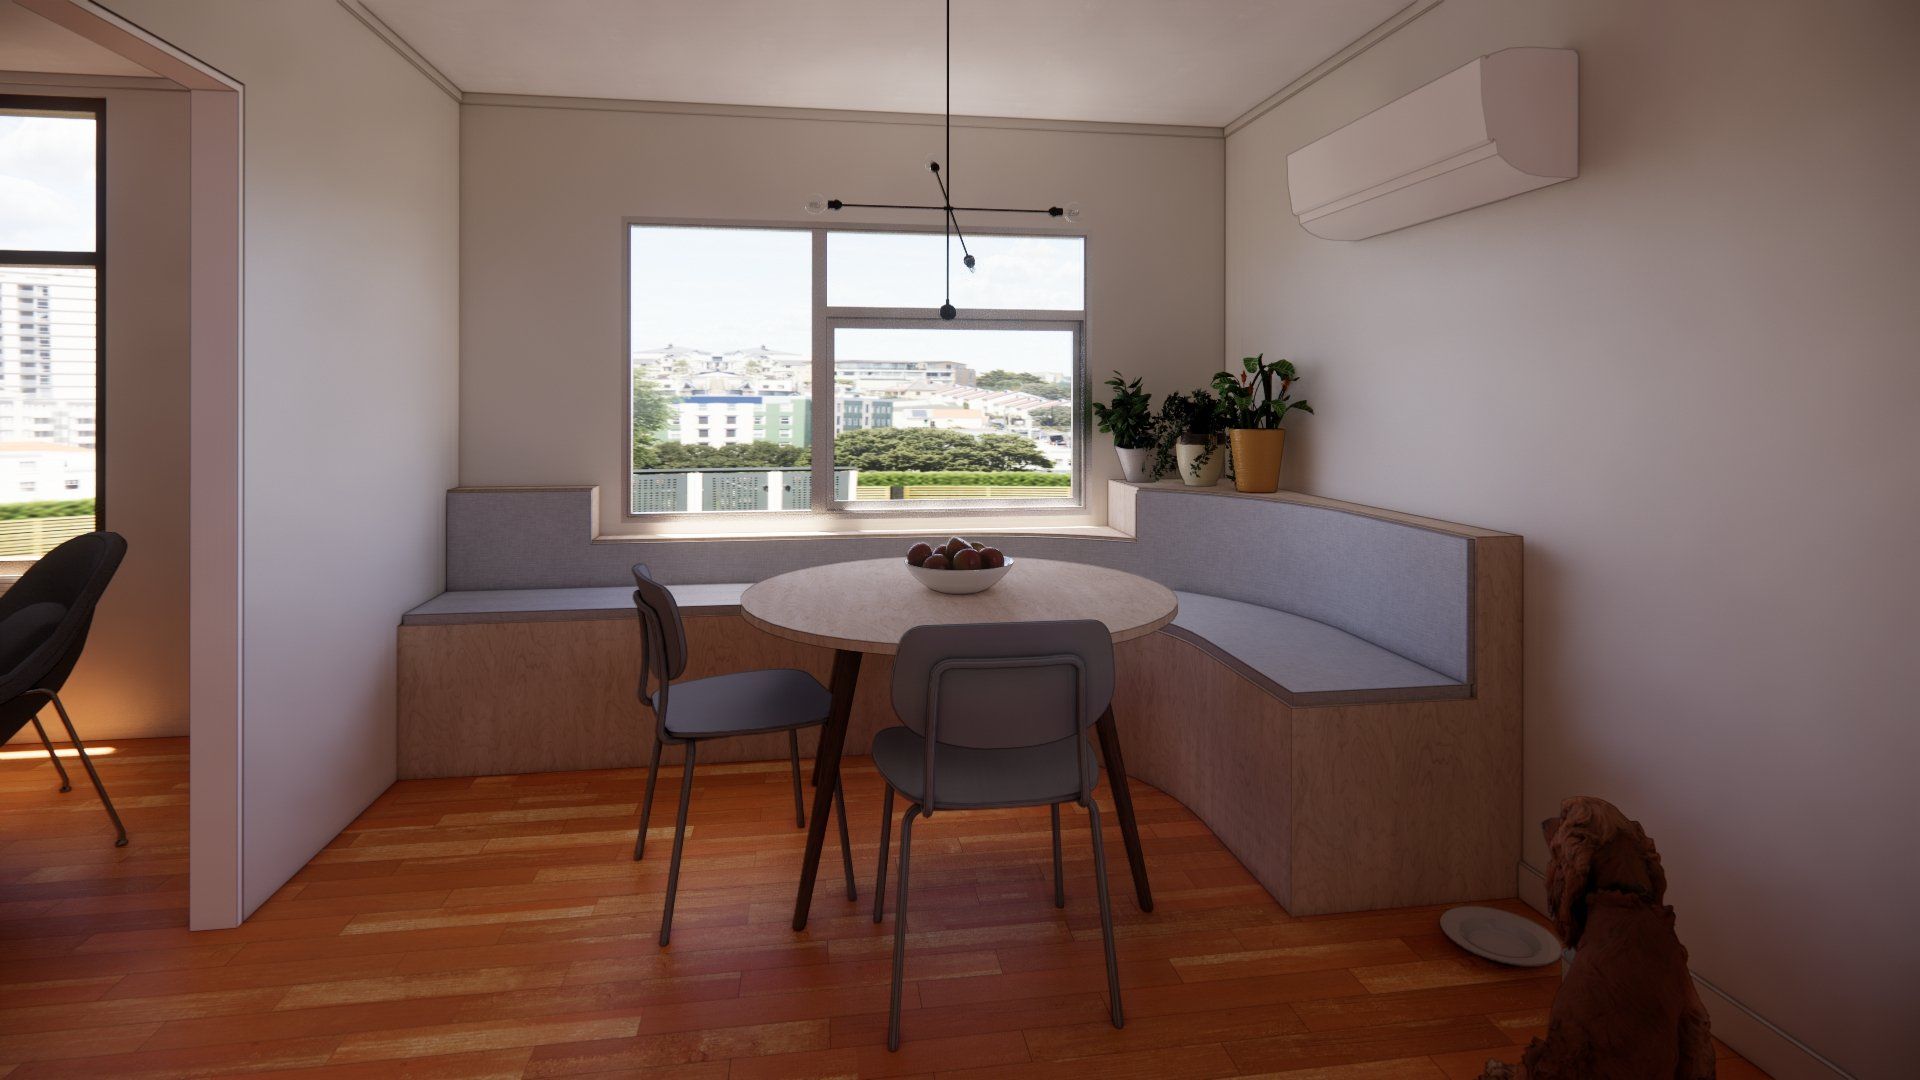
Sometimes we go straight into full detail, in this instance we started with blocks for the kitchen cabinetry to get a general feel for the space. We also tested out our favourite design for the dining room - a dramatic curved booth with a round table to match.
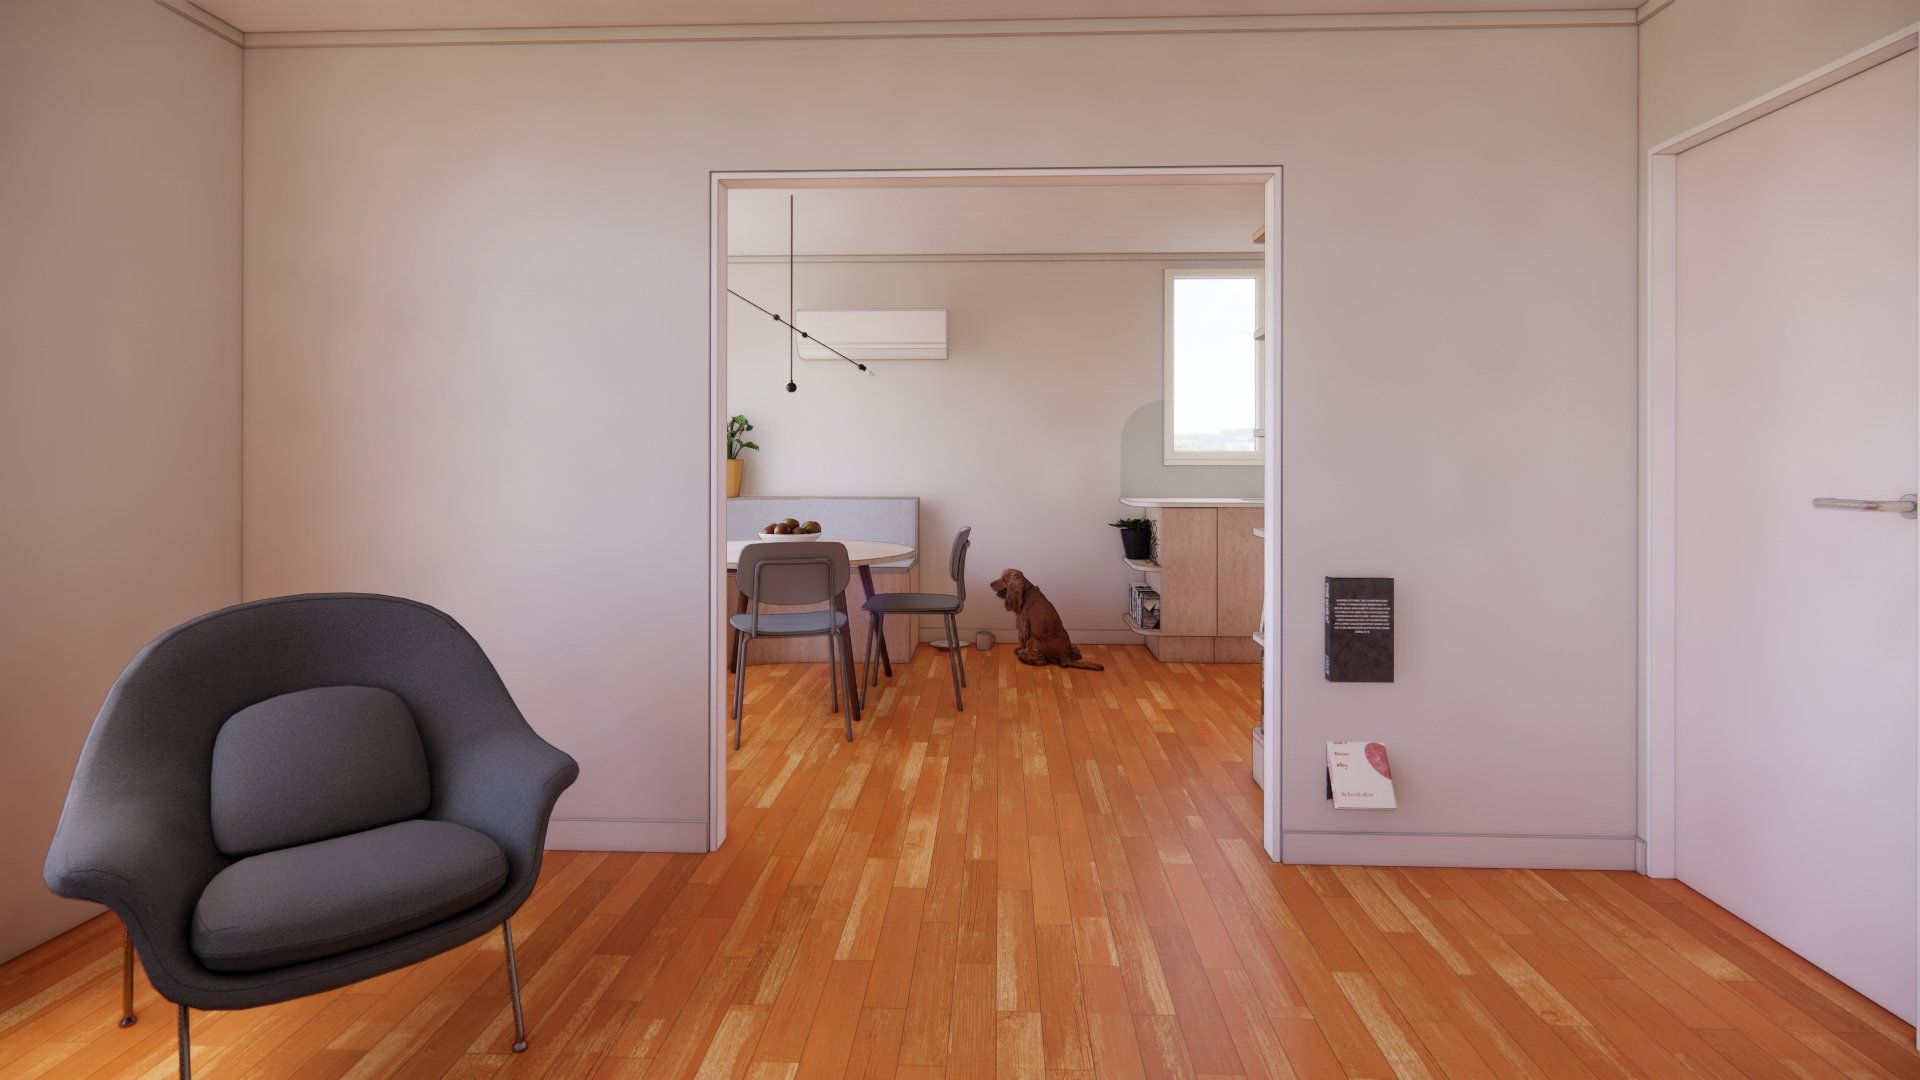
We then send this through to the client to confirm they are happy with the feel of the design and keen to move forward adding more details - it also gives the opportunity to give some early feedback. For example, Max and Jordy wanted a gap between where the bench ends and the booth starts so Gary their beloved cat would have a spot for food and water.


Adding Detail
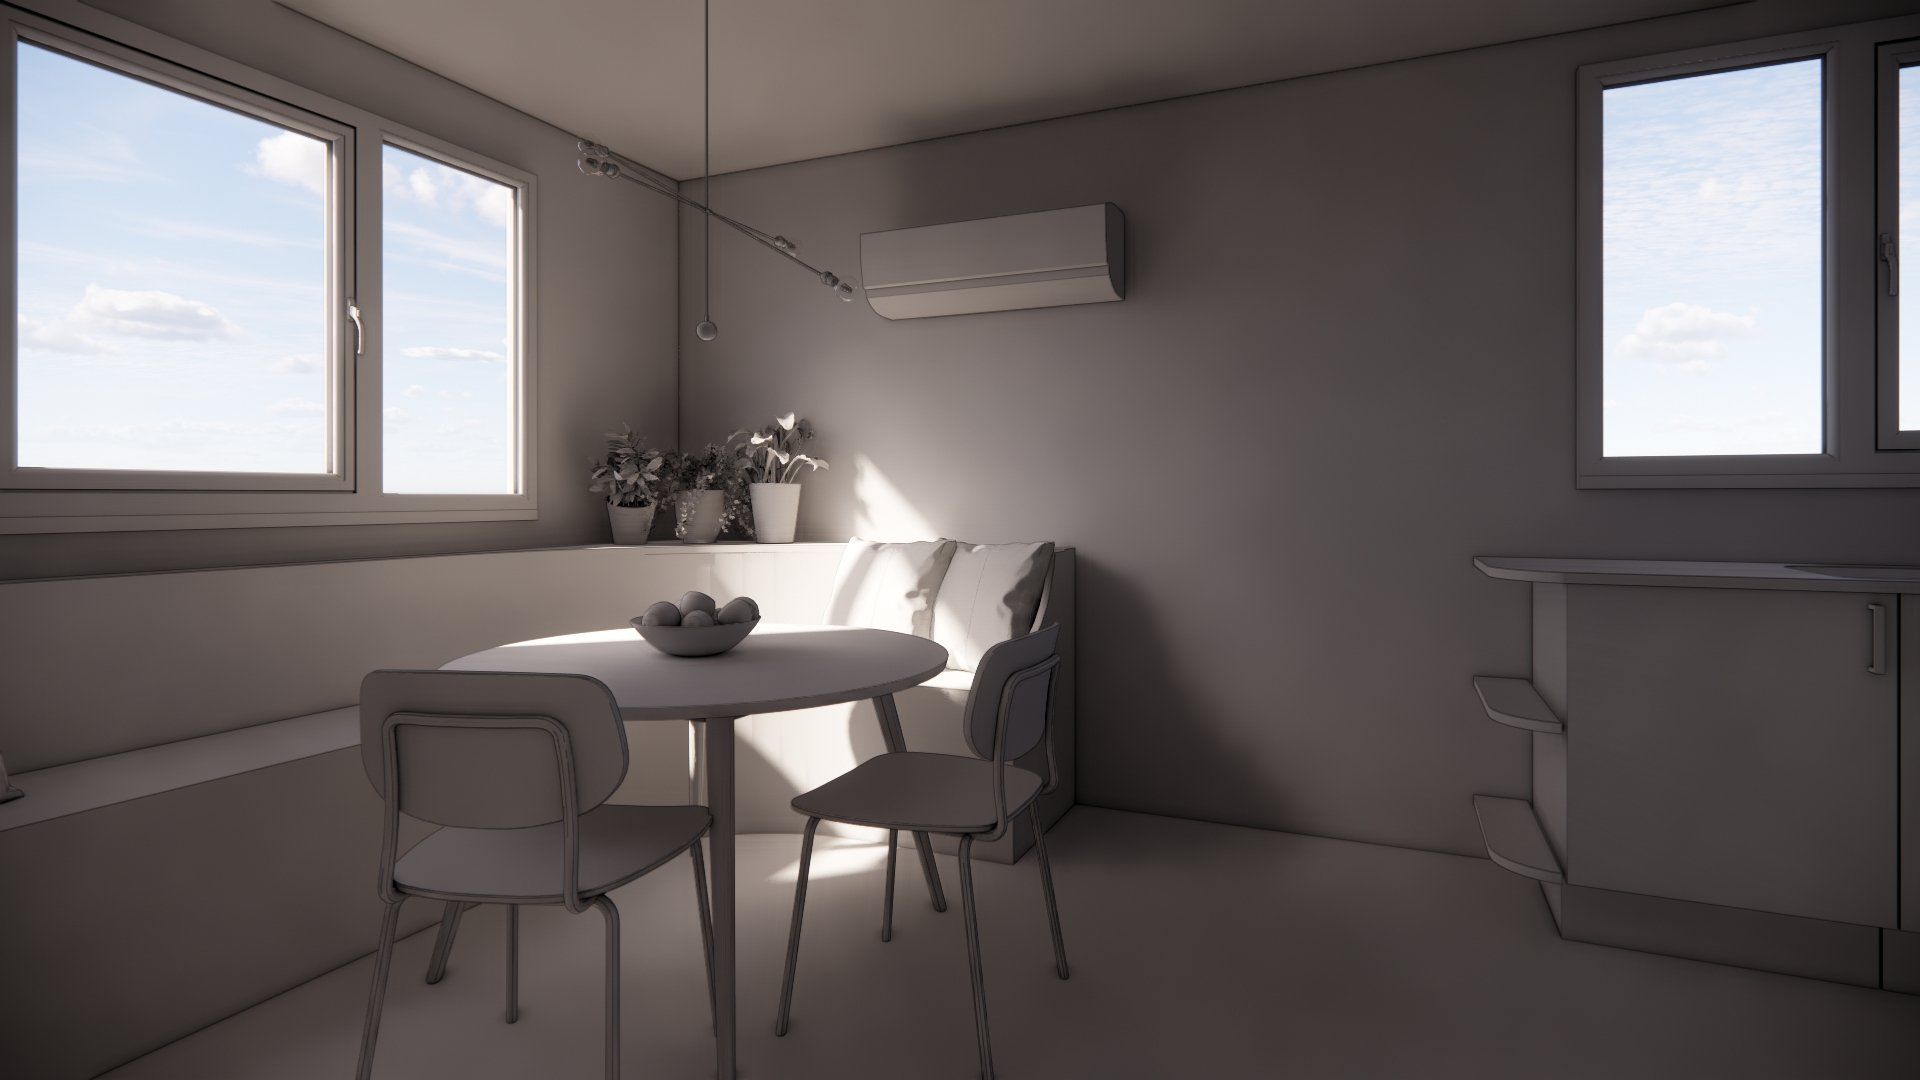
Once we had confirmed that the customer is happy with the overall layout it's time to add more detail and start laying out the cabinetry and appliances - thinking both aesthetically about what looks good, and practically about how this space is going to function.


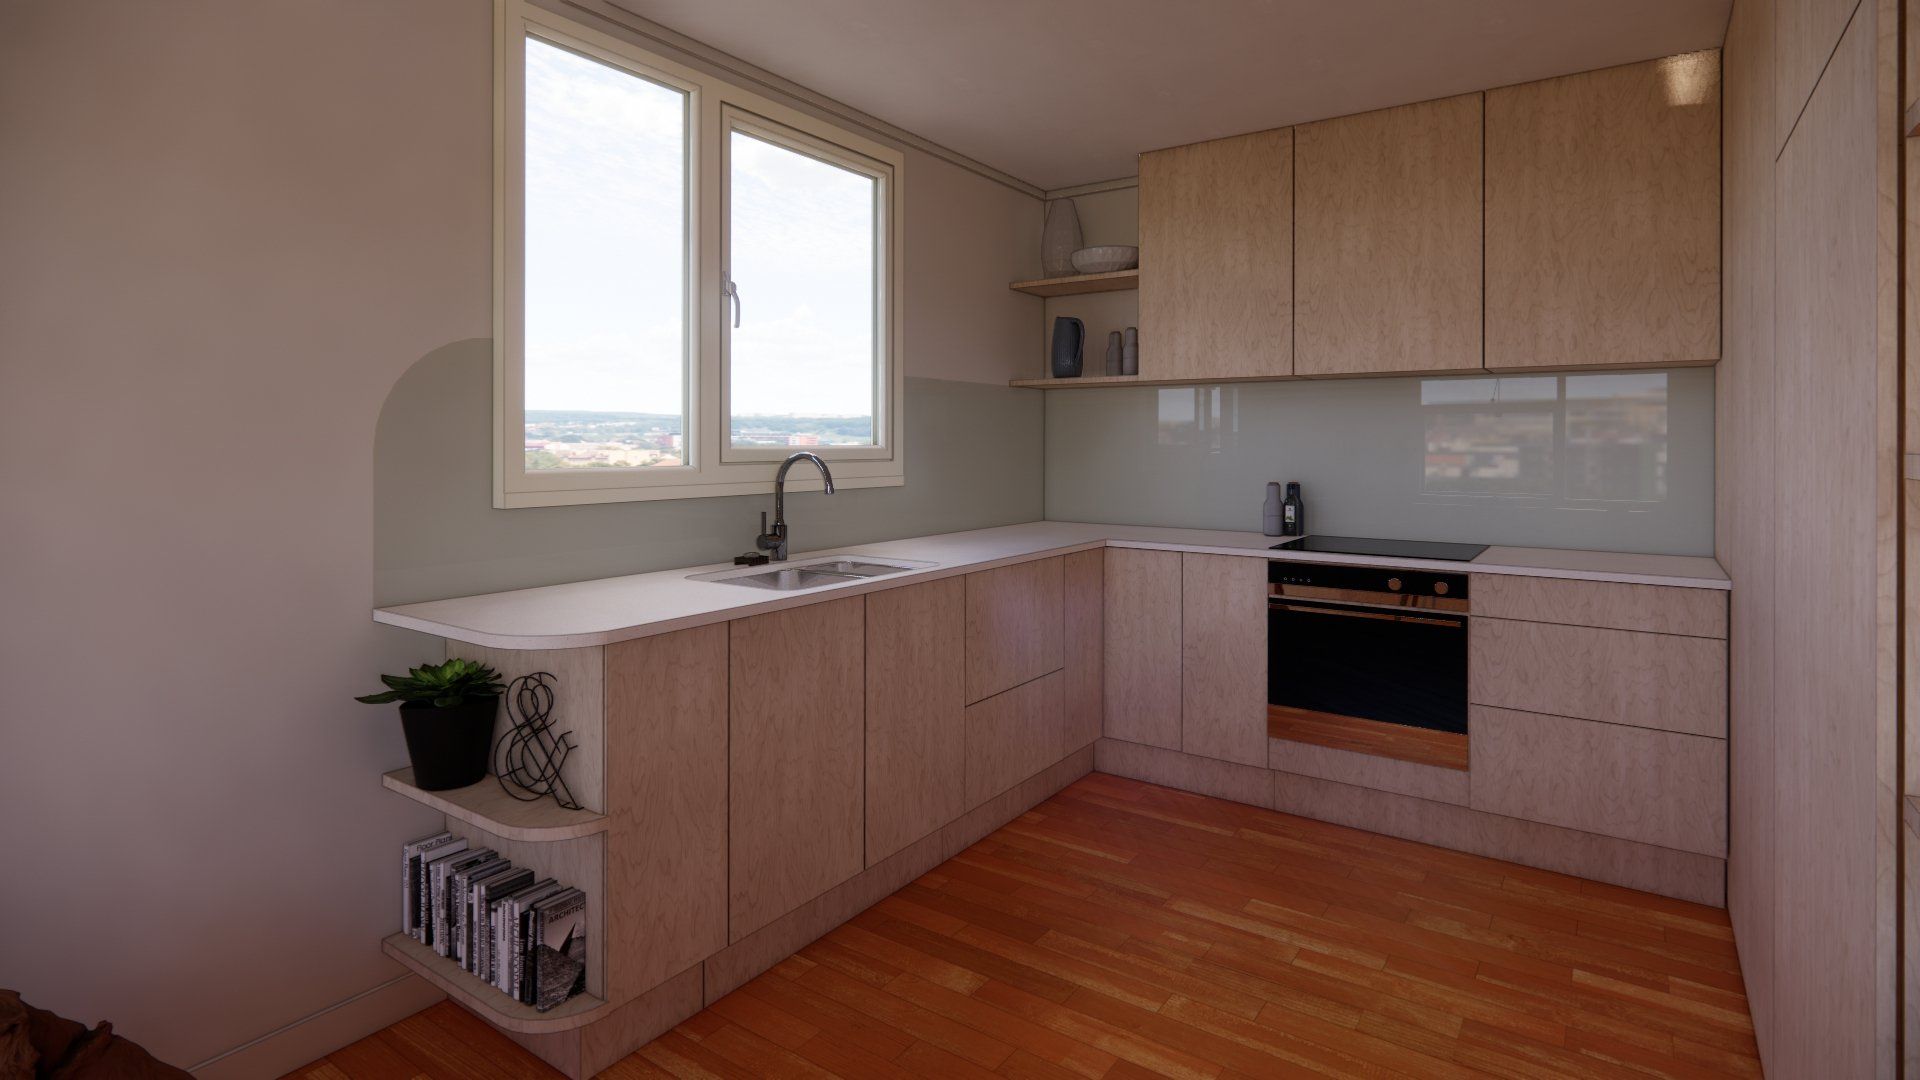

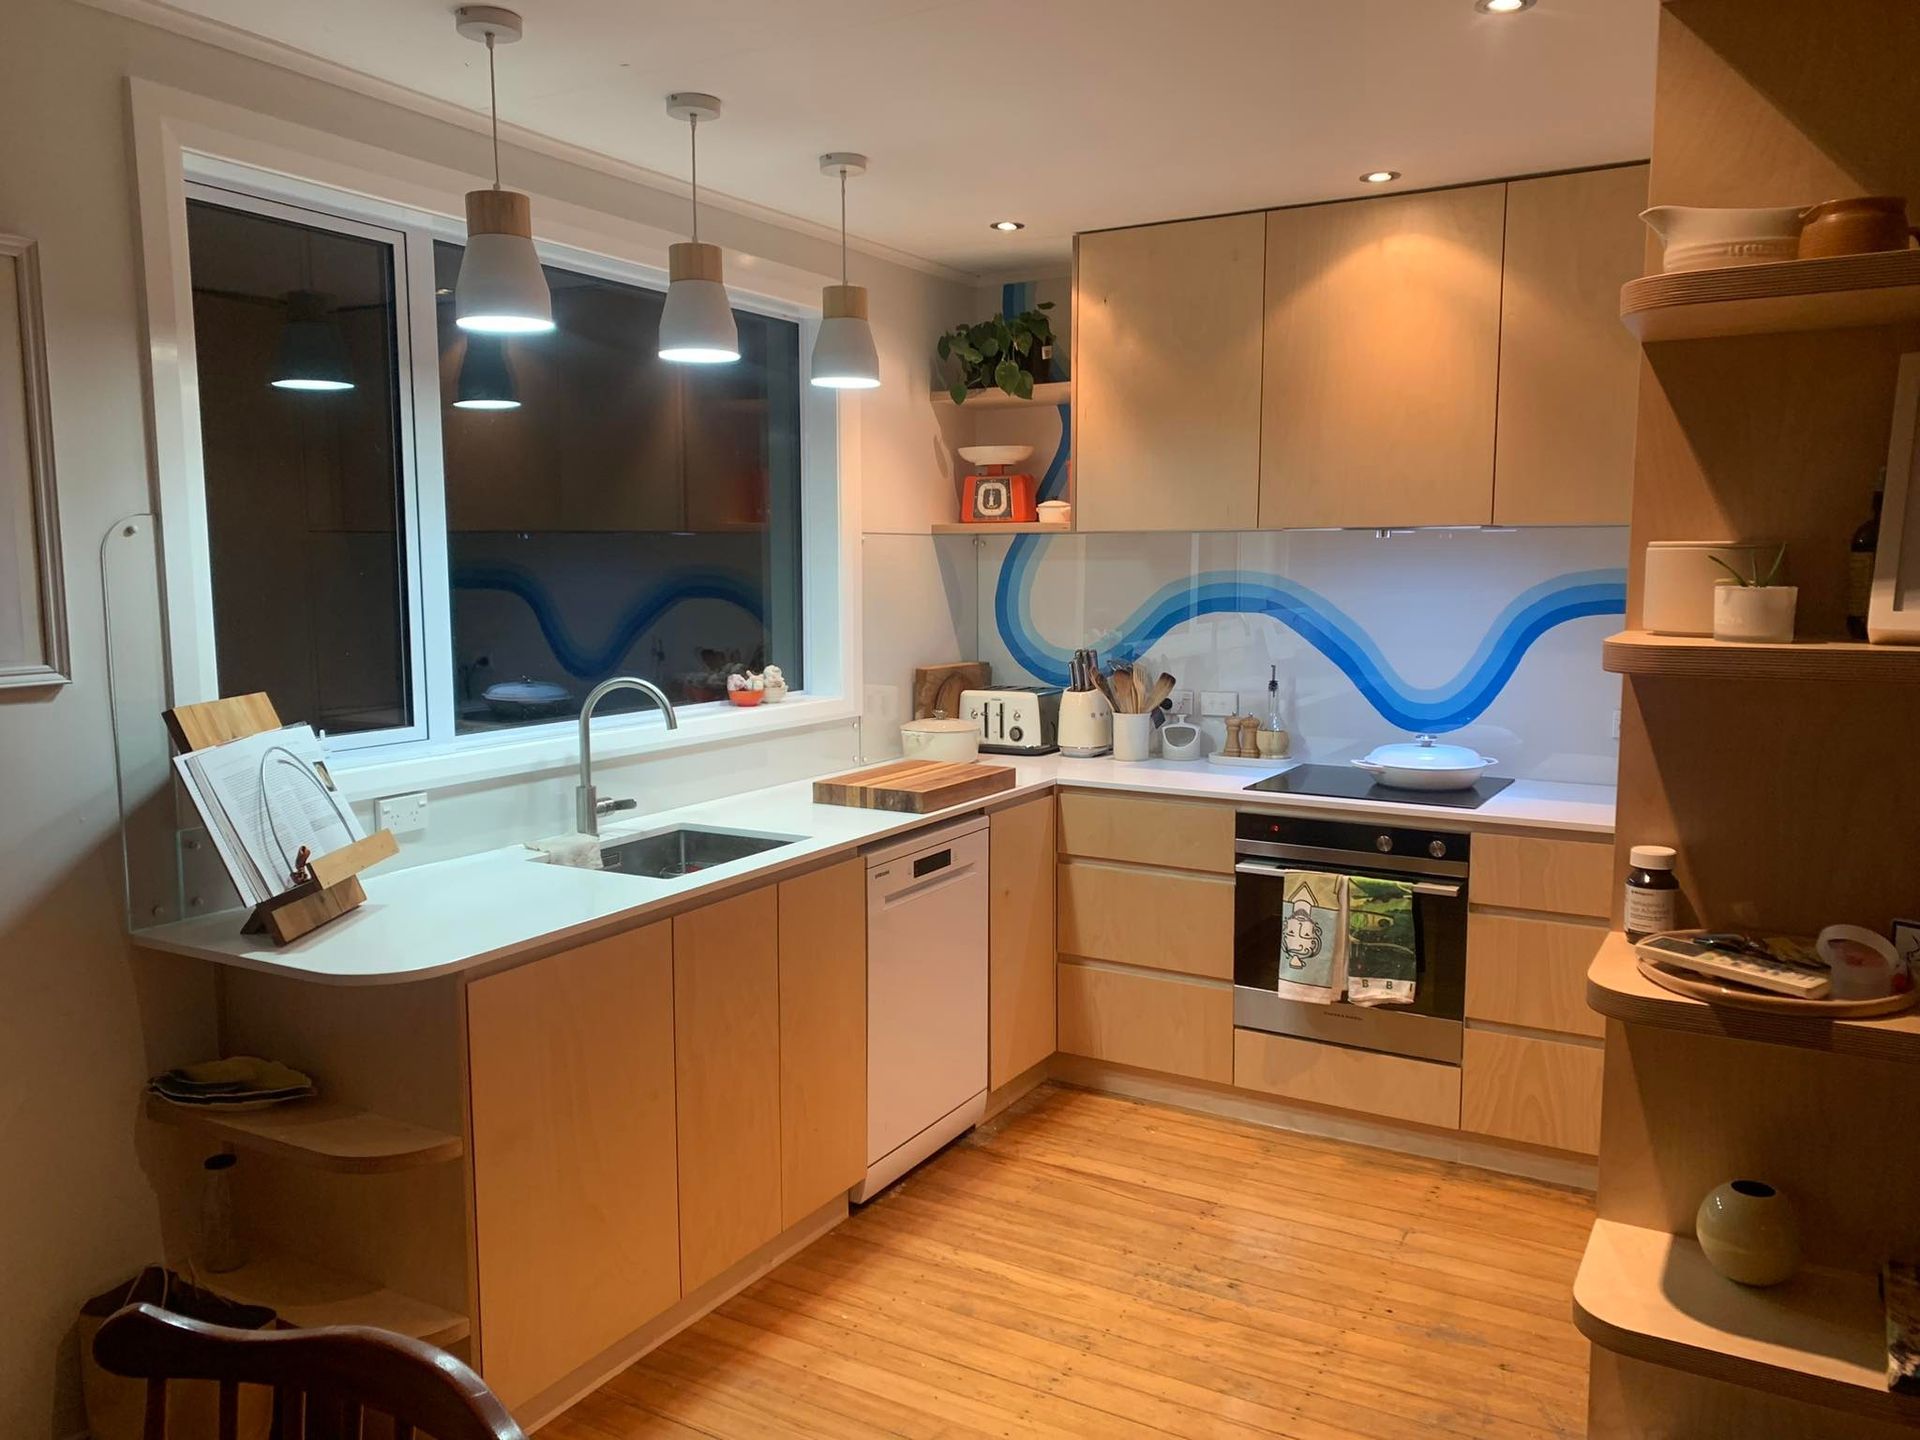
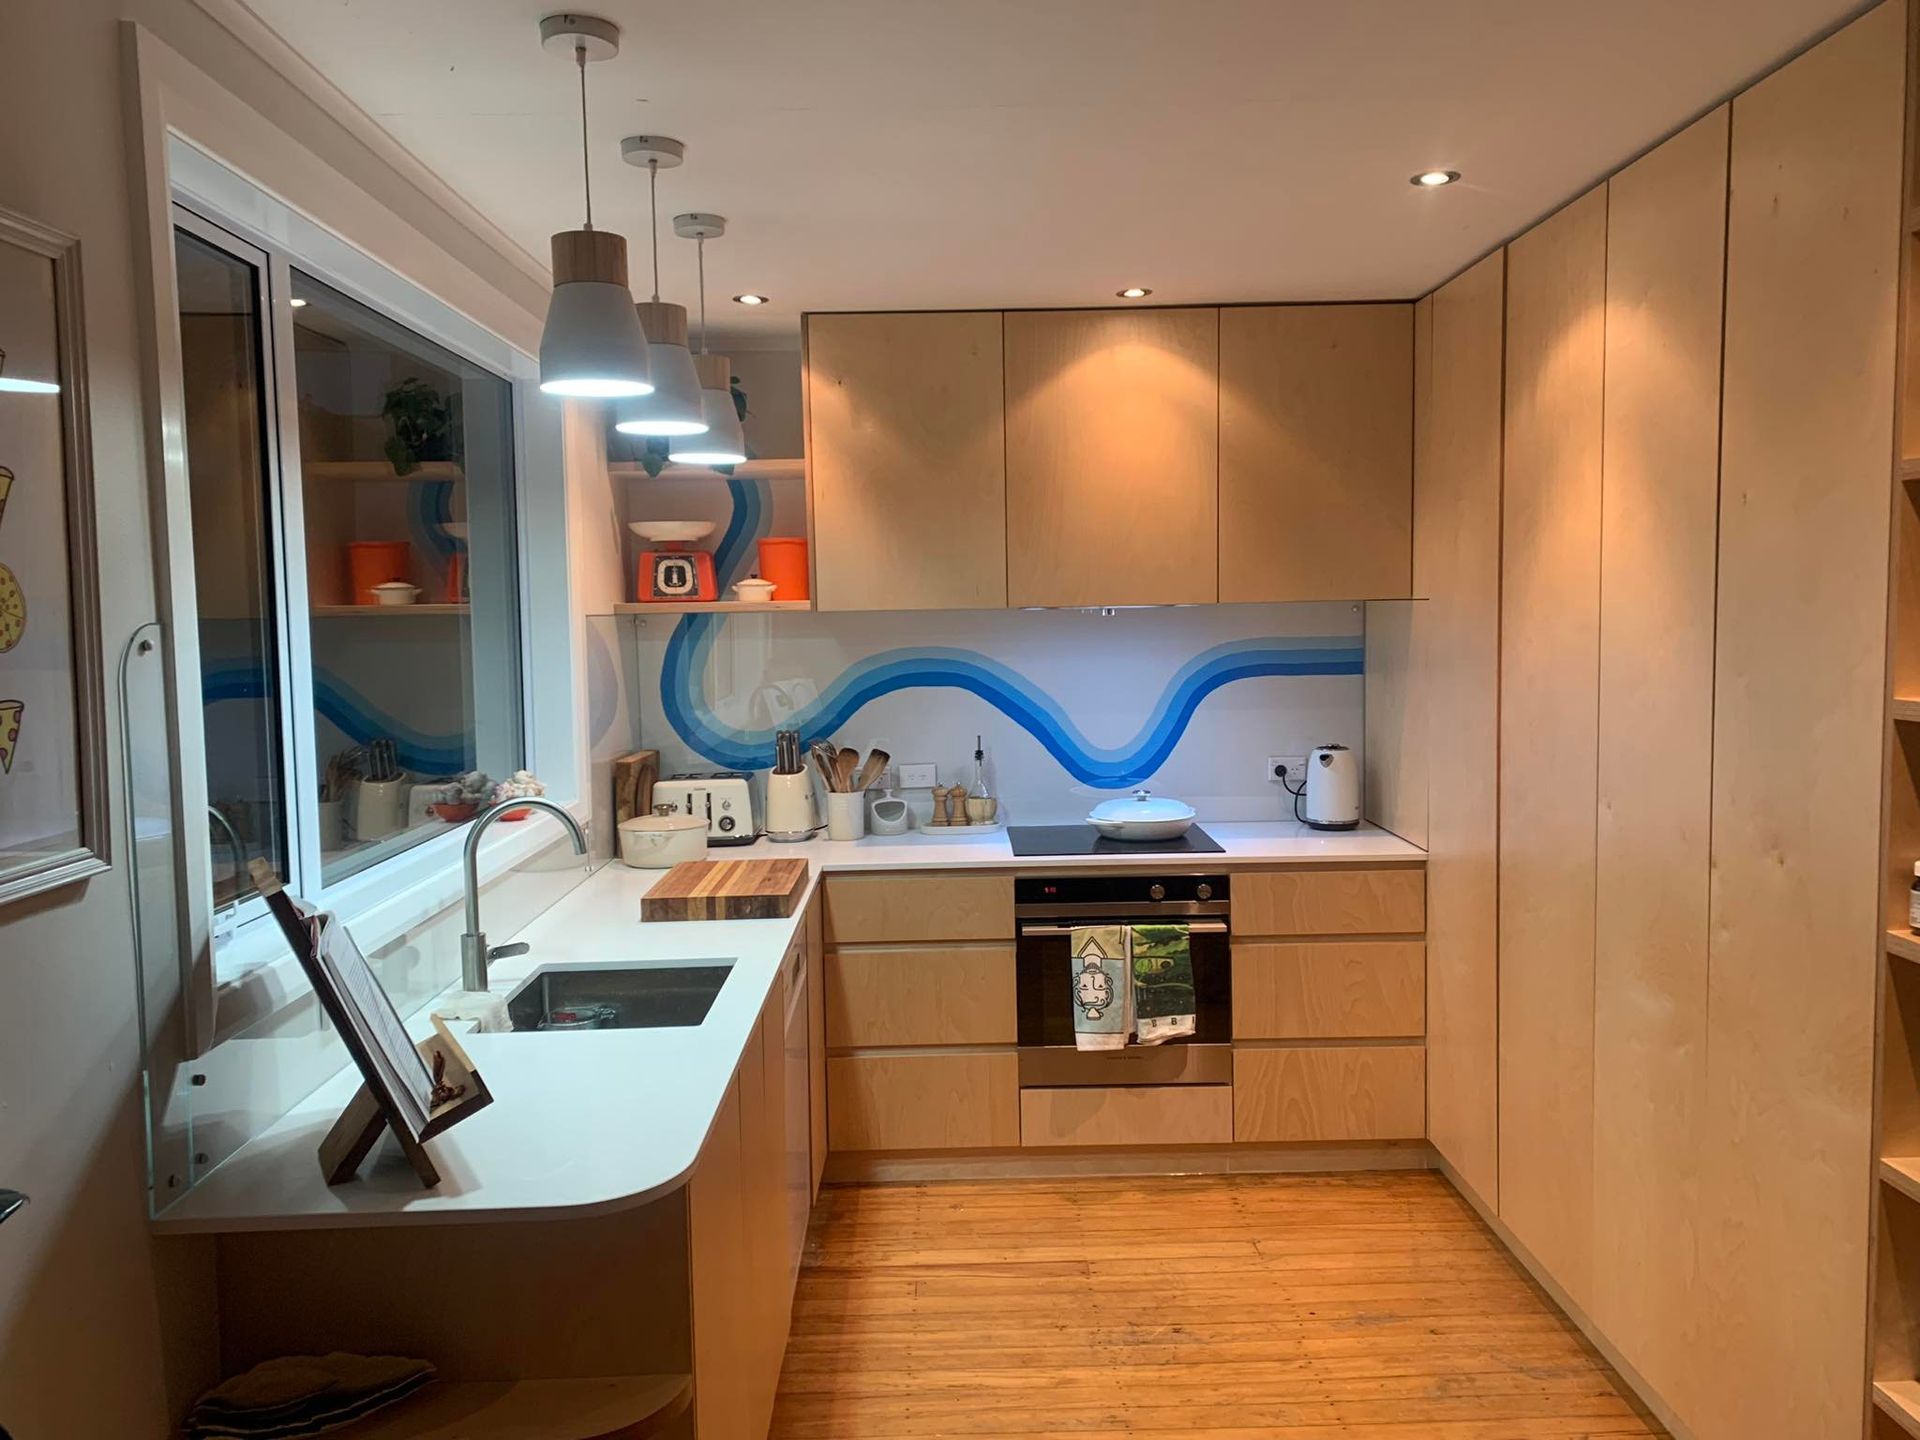
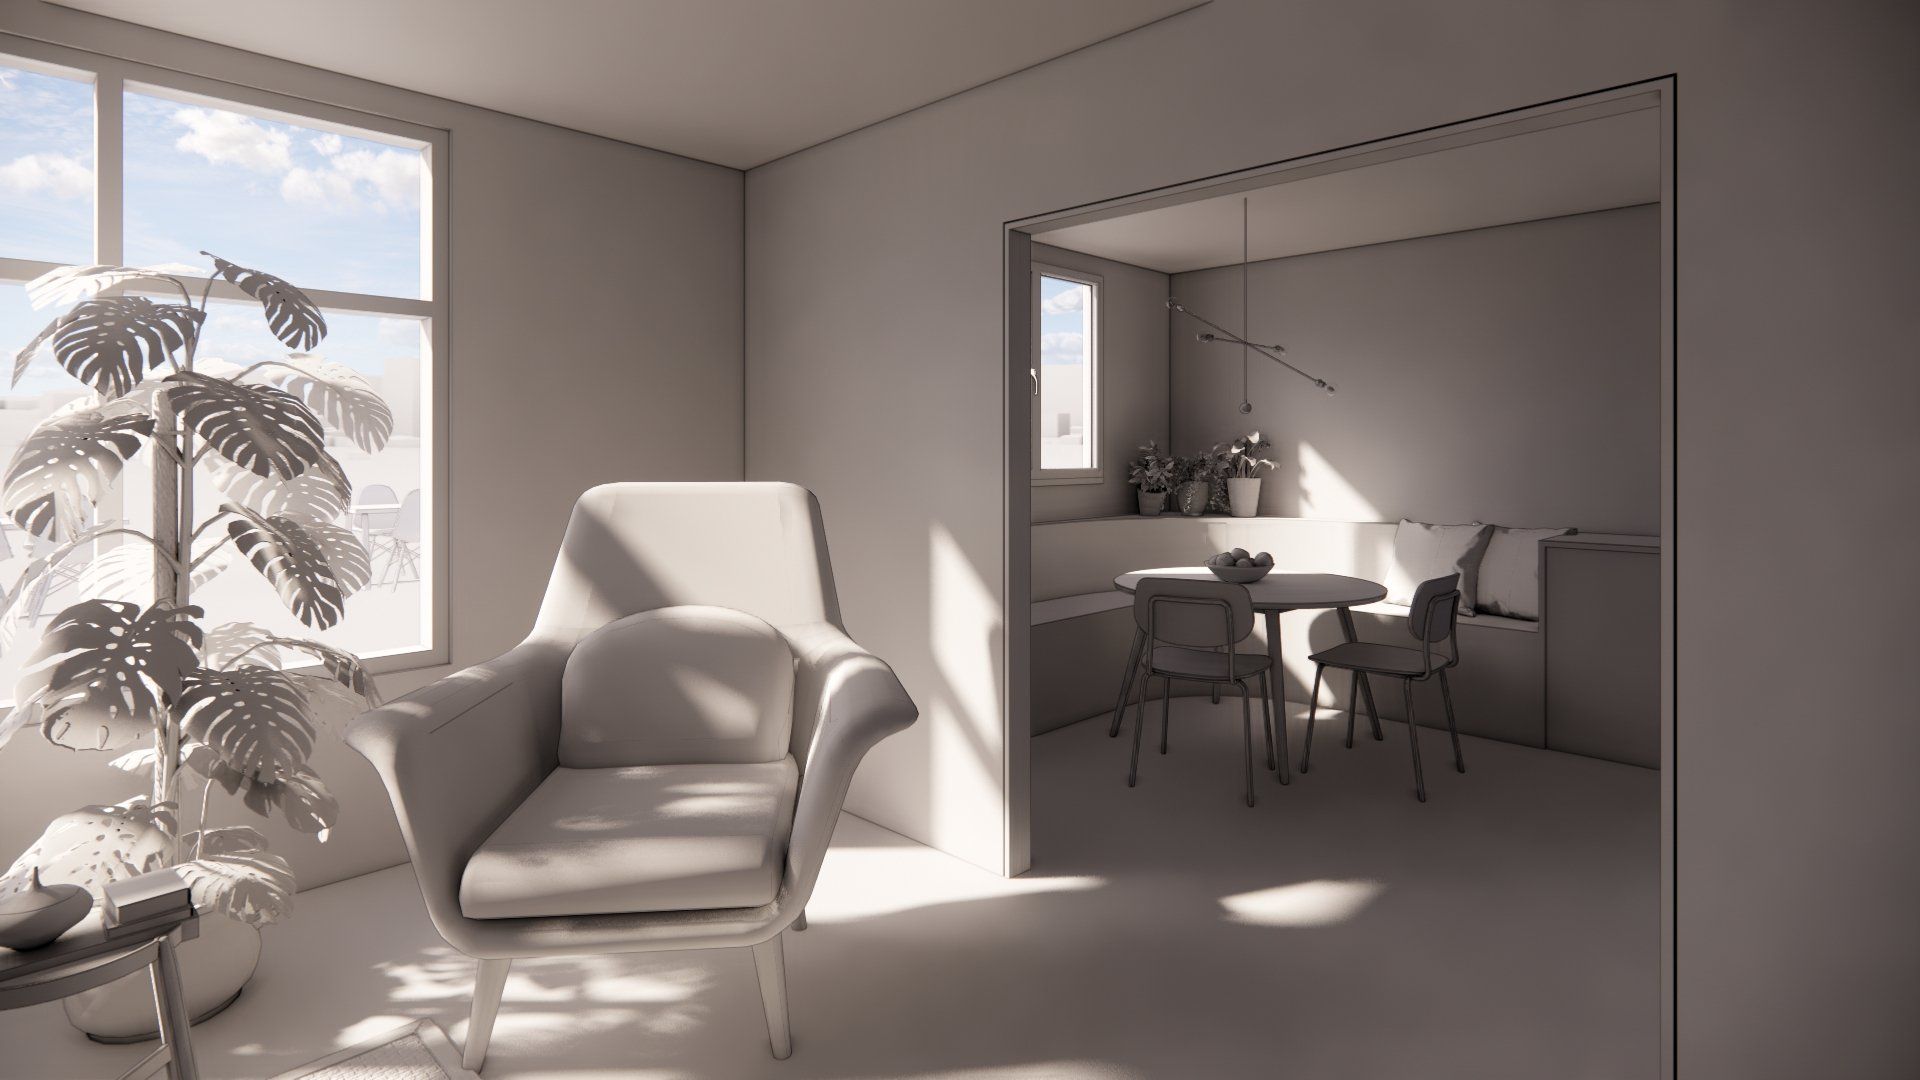
Colour and Material - Bringing the Space to Life!
With the layout all set out how we want it, it's time for the most fun part - adding colour and materials. This is always a bit of a wow moment and takes a design from feeling quite conceptual and imaginary to a real space that could soon be yours.
For Max and Jordy we knew we had the existing wood floors to play with - and from the inspiration image light toned timber cabinetry was a must. We paired this with a neutral white engineered stone bench top. Another feature added at this point was the decision to have the fridge integrated to blend in with the cabinetry.
In this imagery we had a coloured glass splashback although Max and Jordan later changed their mind and went with something much more groovy. That's an important tip, nothing is set in stone so if you change your mind or come across a new idea there is always room to adjust and adapt!